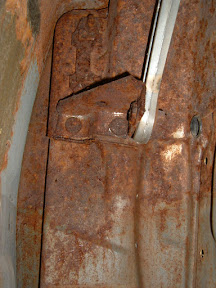
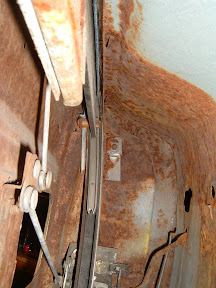
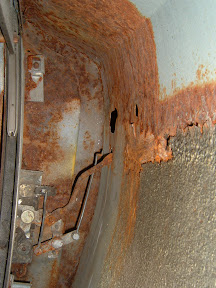
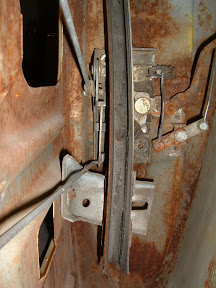
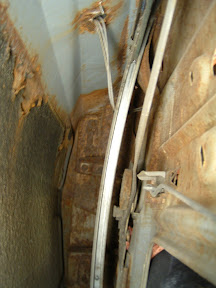
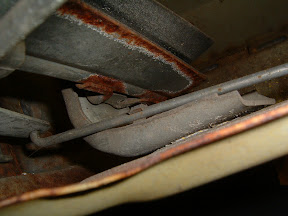
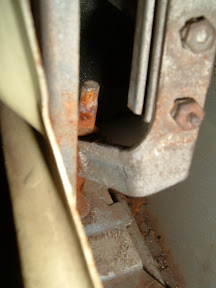
Today, I went ahead and replaced the door jamb with the new one from AMD. This is an excellent part. Its super heavy duty and comes with the striker bracket on the back. I had marked where i removed the old one, however this one seemed a little bit shorter when it came to the lower part of the door sill. I took my best guess and spot welded it into place.
Travis continued working on the interrior lower rear window frame. This required a custom piece to be fabricated and fudged into place. I know this isn't the perfect way to do this, but I am not going for a show car here, just a daily driver.
We also attached the new door for a test fit.
Showing posts with label Door. Show all posts
Saturday, April 09, 2011
Sunday, February 11, 2007
Day 12 - Driver side door
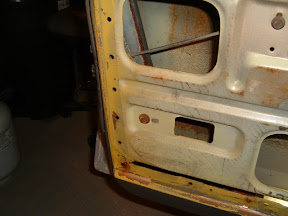
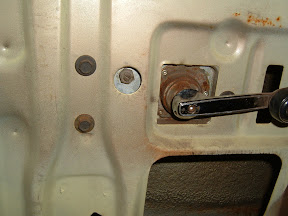
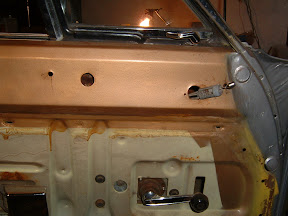
Today I removed the driver side door. After removing the passenger door hardware I realized there is no freaking way I am going to remember how all this crap went together. so I took a few pictures of the inside of the door, before dissaembling it.


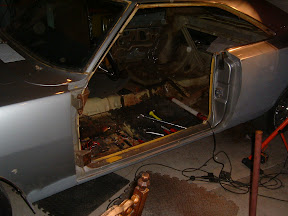
So then I went ahead removed the hardware and the door. It really is amazing how much of the body is the door.
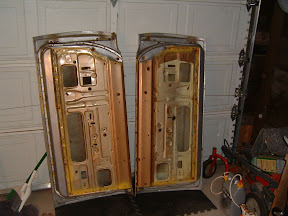
awww.... there doors! ... how cute....
So then I went ahead removed the hardware and the door. It really is amazing how much of the body is the door.
awww.... there doors! ... how cute....
Labels:
Dodge Charger Restoration,
Door,
Engine Removal,
Labeling,
Parts Removal
Subscribe to:
Posts (Atom)