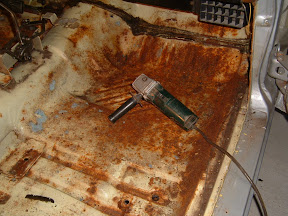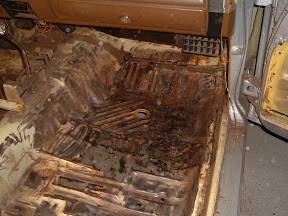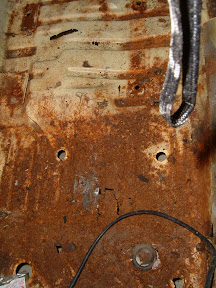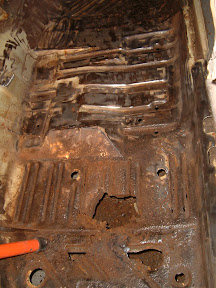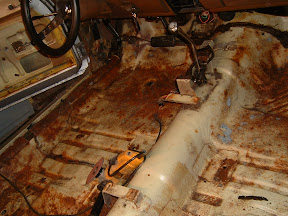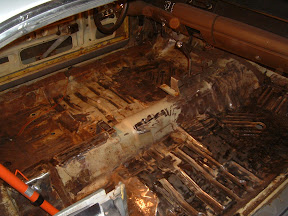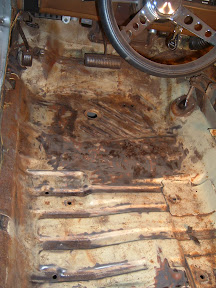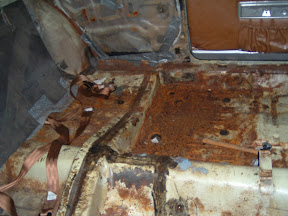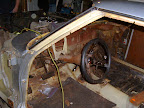
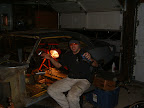
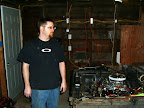
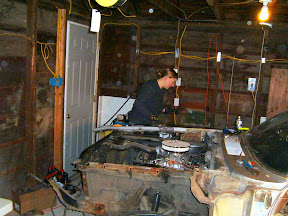
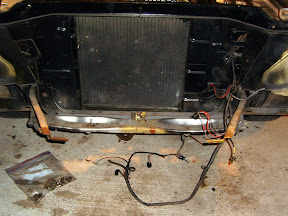
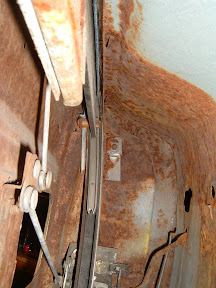
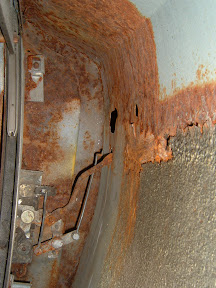
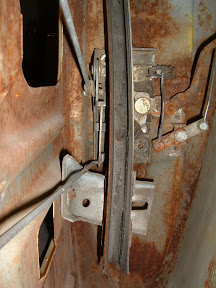
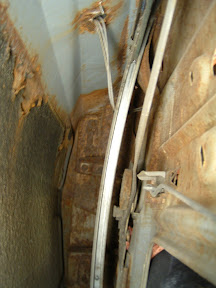
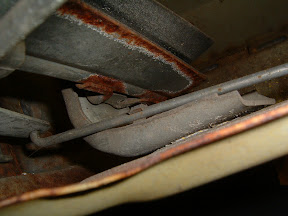
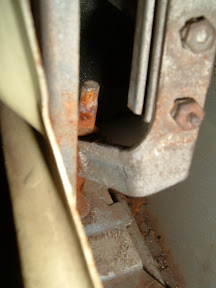
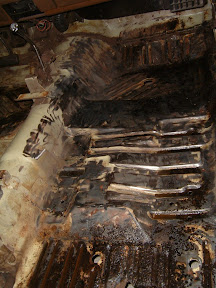
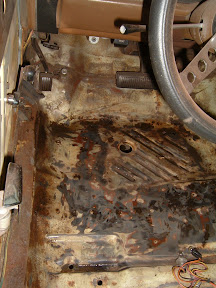
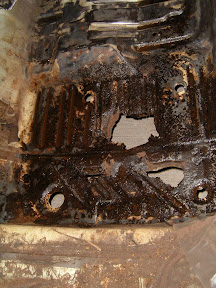
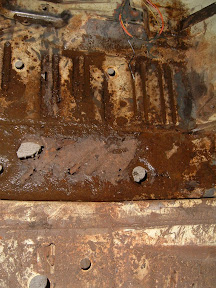
Today, the A-Team stopped by (Mike, Paul and Tami) to give me a hand removing the dash components. We labeled the wirirng and removed the wind shield. Then after moving the steering wheel down and disconnecting the heater vents the dash came out. Up next will be the engine and tranny removal.
Showing posts with label Parts Removal. Show all posts
Tuesday, March 13, 2007
Sunday, February 25, 2007
Day 16 - Fender removal, Rear glass and hardware
Today my good friend Tami came over and gave me a hand with the car. She removed the front passenger fender and the rear glass, regulator and hardware from both sides. We also compression tested the motor and I found 1 cylinder a little lower than the others. So we will have to look into that later.
Compression test results:
Cylinder --------Pressure
1 ------------------105
2 ------------------105
3 ------------------103
4 ------------------102
5 ------------------100
6 ------------------115
7 -------------------90
8 ------------------105
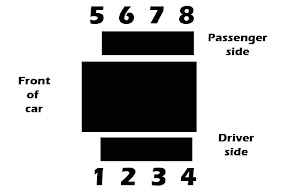
For reference a diagram of the motor is below:
Compression test results:
Cylinder --------Pressure
1 ------------------105
2 ------------------105
3 ------------------103
4 ------------------102
5 ------------------100
6 ------------------115
7 -------------------90
8 ------------------105
For reference a diagram of the motor is below:
Labels:
Dodge Charger Restoration,
Labeling,
Parts Removal
Sunday, February 18, 2007
Day 14 - Front Valance and Grill Removal
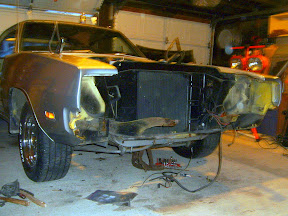
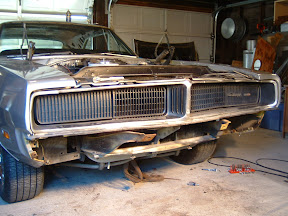
Today I was able to remove the lower valance and grill. This took some work, it seemed after every time I thought I had it all disconnected there would be more hidden bolts.

Labels:
Dodge Charger Restoration,
Labeling,
Parts Removal
Day 13 - Front Bumper Removal
Today, my good friend Mike came over and helped me remove the hood and bumper. We had to remove the 2 center bolts and then the supports that ran to the frame. Once the support bolts were removed we were able to slide the bumper forward enough to remove the other bolts.
Sunday, February 11, 2007
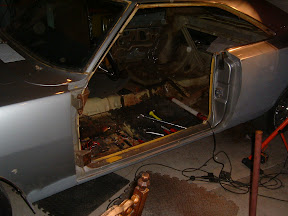
Day 12 - Driver side door
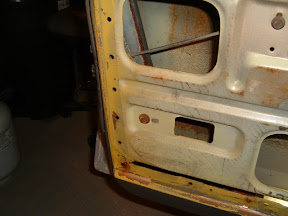
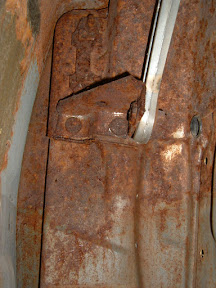
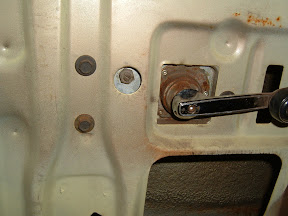
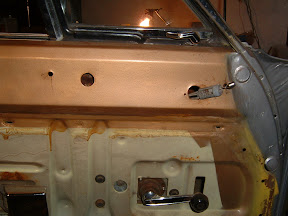
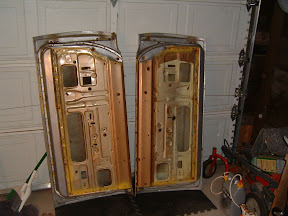
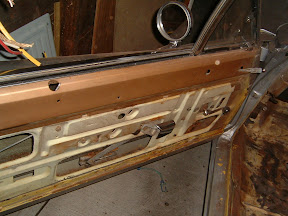
Today I removed the driver side door. After removing the passenger door hardware I realized there is no freaking way I am going to remember how all this crap went together. so I took a few pictures of the inside of the door, before dissaembling it.


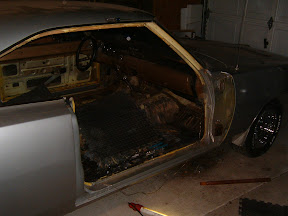
So then I went ahead removed the hardware and the door. It really is amazing how much of the body is the door.
awww.... there doors! ... how cute....
So then I went ahead removed the hardware and the door. It really is amazing how much of the body is the door.
awww.... there doors! ... how cute....
Labels:
Dodge Charger Restoration,
Door,
Engine Removal,
Labeling,
Parts Removal
Saturday, February 10, 2007
Day 11 - Passenger side door
Today I disassembled the door glass and locking mechanisms and removed the door hardware. I then removed the door from the car. In doing so, I cut my freaking thumb. That's it for the day ... Time for a soda.
Labels:
Dodge Charger Restoration,
Labeling,
Parts Removal
Day 10 - Window Moldings
Today I went ahead and removed the front and rear windshield trim. along with the upper window trim on both sides. This took a long time because the PO poured a clear silicone over the windshield trim. This took a lot of cutting and work to remove the silicone and clips.
Labels:
Dodge Charger Restoration,
Labeling,
Parts Removal
Monday, January 29, 2007
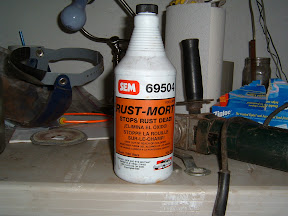
Day 9 - Rust Mort the floors
Rust mort is a rust inhibitor, it converts rust to black or grayish, hard, insoluble, protective coating.
Then just applied with a small brass wire brush. I applied about 2 thin coats and I will let it sit over night.
Saturday, January 27, 2007
Day 8 - Doors and Floor Pan Rust
Today we wanted to tackle the driver side door and the floor. My friend Paul came over once again to give me hand. WHAT A SUCKER! Lol jk.
Paul went ahead and removed the door panel and hardware.
We went over to the home depot and picked up a few things:
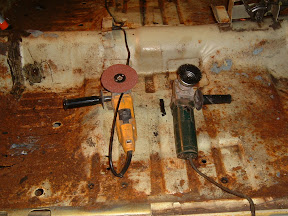
- A wire brush attachment for one of the grinders. (This is for getting into the groves of the floor pans)
- A few wire brushes of various sizes (This for any detailed cleaning that needs to be done)
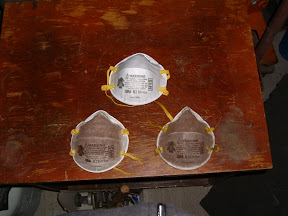
- A box of dust masks
- For those of you who don’t believe in the use of dust masks, here are ours after just a few hours.
The top one is a new one, the lower left one is Paul’s and the lower right one is mine.
- Lacquer thinner (This is for cleaning surfaces just before painting.)
- Masking tape (Masking off any areas you don’t want paint on.)
- Welding gloves (The wire brushing attachment for the grinder is dangerous and hell
on the hands, so I got these to protect the hands and help with the vibration.)
This took some serious grinding to clean up these floor pans.
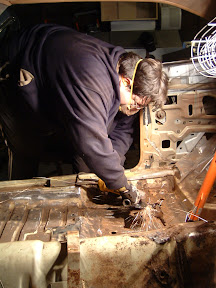
When using the sanding pad you will notice it sparking when you hit seams or rust, nothing to worry about, just keep going.
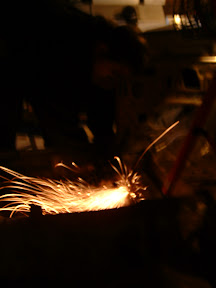
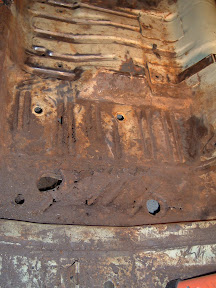
Here are the floor pans ...
Labels:
Dodge Charger Restoration,
Labeling,
Parts Removal
Monday, January 22, 2007
Day 7 - Clean Up and Seat Stands
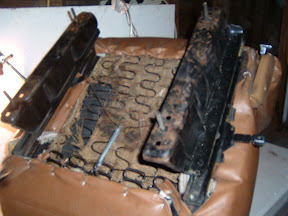
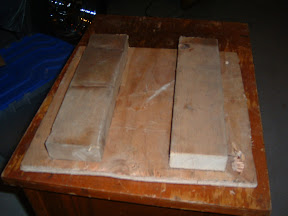
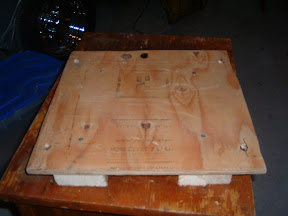
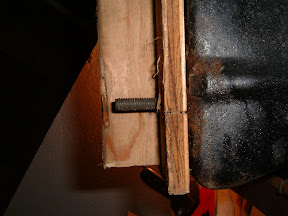
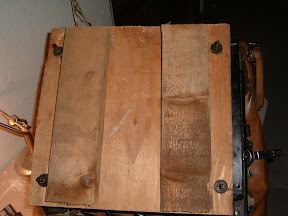
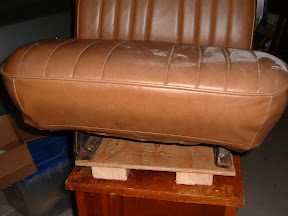
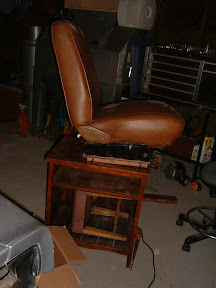
Today I just tried to clean the garage and build some stands for the bucket seats. Because the seats seem to be in pretty good condition, I wanted to protect them. These car seats bolt right to the floor I made some stands so the studs wouldn’t get damaged.
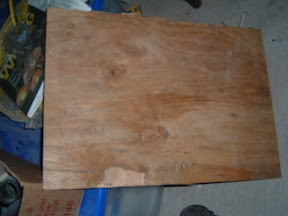
First I took a piece of plywood and cut it to the length and width of the foot print of the seat.
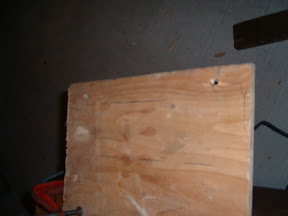
I then set it on the studs then marked where the studs are on the wood. I drilled out the holes and made sure it fit.
I then attached a couple of 2X4 s to the bottom so that the seat can sit on the floor without sitting on the studs.
First I took a piece of plywood and cut it to the length and width of the foot print of the seat.
I then set it on the studs then marked where the studs are on the wood. I drilled out the holes and made sure it fit.
I then attached a couple of 2X4 s to the bottom so that the seat can sit on the floor without sitting on the studs.
Labels:
Dodge Charger Restoration,
Labeling,
Parts Removal
Subscribe to:
Posts (Atom)