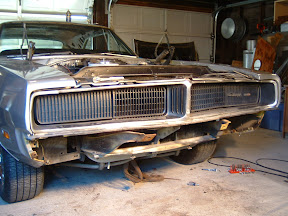
Thursday, April 01, 2010

Day 24 (Steering Gear and a blast)

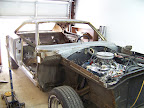
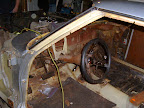
GOOD MORNING! I am excited, can you tell? Today I took the fenders, deck lid, hood and doors over to the media blaster this morning, which happens to be located about 6 blocks from my house. I know what you’re thinking, “but what about the car?” and I’ll tell you. This is by design. I am having the parts media blasted first, and then once they are done I am going to swap them for the car. This leaves half of my garage open so I can primer the parts first and let them set up. Once the car is back I can load into the garage and primer it right away with the parts already done.
When I got home today, I went straight to the garage to remove the steering gear and finish removing the brake lines. I called my dad earlier and ask for advice regarding the steering gear and said bolt it back on and hit it with a hammer. So I did but it didn’t work. So I did what any good mechanic would do … I got a huge sledge and smashed the living hell out of it. Turns out that did the trick. The bearing came loose and I could easily remove the steering gear. In my new found excitement I focused on the brake lines and had them removed in no time. The car is now ready for media blasting .. WOOT!...

Before the Blast:

Fenders Outside:


Fenders Inside:


Doors Outside:


Doors Inside:


Hood Outside:


Hood Inside:


Deck Lid Outside:


Deck Lid Inside:

Day 23 (Shocks & Lines and one stubborn wheel)

Today Grant and Lenny stopped by and gave me a hand with a few things. Thank god they did, because I ran into a pretty serious problem that could only be solved by having all 3 of us there. It started out easy enough, Grant removed some left over rear trim, while Lenny and I started working on the removing the steering gear. Grant was successful in removing his part, Lenny and I, well, not so lucky. We decided to leave the steering gear alone and tackle the shocks.
I decided it would be a lot easier to remove the shocks if we removed the wheels first. In attempting to remove the passenger front wheel we had a small issue. Grant kept turning on the one lug nut and it just kept turning without loosening. We tried to tighten it, same thing. It just kept turning. This meant that the stud that was pressed through the axle plate was stripped. Also since there was no way to get behind said stud, we were stuck.
We tried pulling on it, pushing on it, turning the wheel each way. Then a Hail Mary idea, if we put tension on the wheel equally pulling in the direction of removing the wheel, we should be able to cause enough tension on the stud to make it to grab on the interior of the axle plate. With Grant on one side and me on the other we wedged crowbars between the wheel and the drum brake hub and pried for dear life while Lenny used the tire iron to turn the lug nut. After about 2 mins, we found some success. It was another 20+ minutes to get the rest of the lug nut off and subsequently the wheel and I then removed the bad stud.
After this colossal battle we got back to work, the shocks were removed as well as the brake lines, Grant cut out the manual/parking brake cable. The fuel line was removed along with some really old fuel that was still in the line. As matter of fact I think it’s starting to make me a bit woozy…. *WAM*.

Sunday, March 21, 2010

Day 22 (Brake Lines and other Stuff Removal)

I was able to tackle part of the brake lines today. I had to clean the brake line and the wrench then hammer the wrench on to line then broke loose the nut and had to pry the wrench off. I also removed the equalizer bar and a few patch panels.
Still left to do:
- Finish removing the brake lines
- Remove shocks
- Remove fuel line
- Remove any loose clips


Day 21 (Trim Removal cont.)

Travis once again came over and removed parts with the speed of a mongoose. He was removing parts faster than I could tag and bag them. He removed the front and rear windshield molding clips which we were all rusted. In addition, he was able to remove the exterior window trim on both sides, as well as drill out a few screws that were so rusted, that when a screwdriver was applied, the screw started to disintegrate. We also removed the trunk hinges. We did get stuck on the brake lines. I hope to tackle this tomorrow. I cleaned up the garage a bit and took a load of stuff to the dump including the exhaust pipes we removed the week before.


Day 20 (Trim Removal)

Travis came over today and we started removing many little parts for the sandblasting. Travis and I were able to remove the rear windshield, and cut out the exhaust pipes.

Sunday, April 20, 2008

Day 19 - Engine Removal

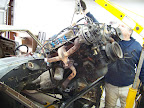
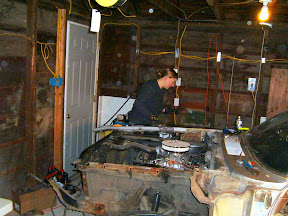
Ok ok ok… I get it … its been a while. A long while… but anyway… Today my dad came over and we pulled the motor and transmission out.


We had to first disconnect the driveline from the rear differential by removing the universal joint. We then pulled the driveshaft free of the transmission, letting it drain into a pan. I went ahead and removed the distributor and sealed the intake with masking tape.

I then removed the lines running from the transmission to the radiator and then removed the radiator. With the Radiator removed I was able to easily remove the fan, fan belts and disconnected the power steering lines.

My dad removed the 4 bolts holding in the transmission mount in and disconnected the 3 prong electrical plug which ran to the windshield wiper for some reason, not totally sure what it is. He then used a cut-off wheel to just cut the exhaust pipes instead of trying to fiddle with rusted bolts.


We then removed the motor mount bolts and hoisted the motor up and out of the engine bay.

Next time I am going to build a cart for the engine as well as removing the rear window and trim.

Tuesday, March 13, 2007

Day 18 - Dash removal and engine labeling

Today, the A-Team stopped by (Mike, Paul and Tami) to give me a hand removing the dash components. We labeled the wirirng and removed the wind shield. Then after moving the steering wheel down and disconnecting the heater vents the dash came out. Up next will be the engine and tranny removal.


Day 17 - Field Trip #2

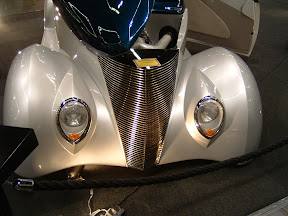
This time Paul, Mike and I went to the 51st Annual Portland Roadster Show, take a look..


Sunday, February 25, 2007

Day 16 - Fender removal, Rear glass and hardware

Today my good friend Tami came over and gave me a hand with the car. She removed the front passenger fender and the rear glass, regulator and hardware from both sides. We also compression tested the motor and I found 1 cylinder a little lower than the others. So we will have to look into that later.


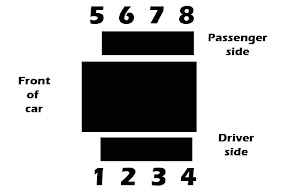
Compression test results:

Cylinder --------Pressure
1 ------------------105
2 ------------------105
3 ------------------103
4 ------------------102
5 ------------------100
6 ------------------115
7 -------------------90
8 ------------------105

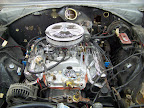
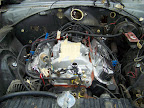
For reference a diagram of the motor is below:

Sunday, February 18, 2007

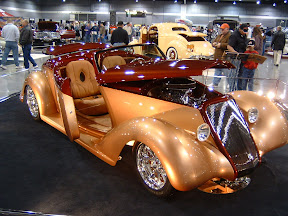
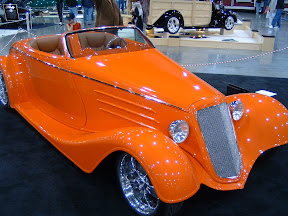
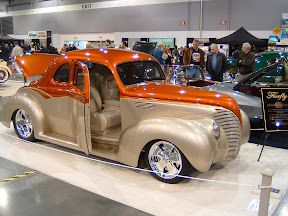
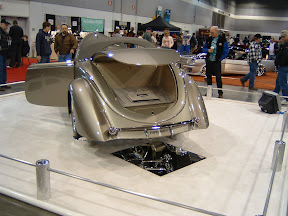
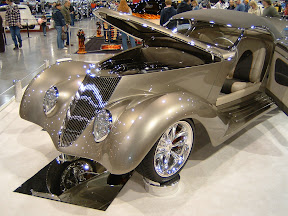
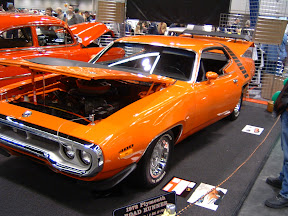
Day 15 - Field Trip! (Rod and Custom)

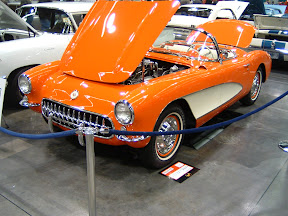
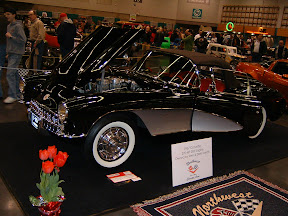
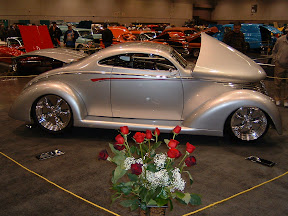
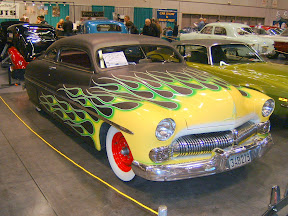
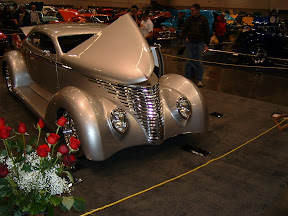
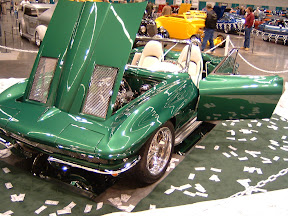
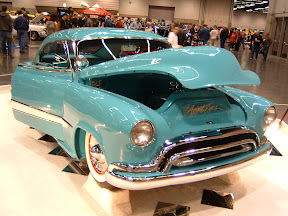
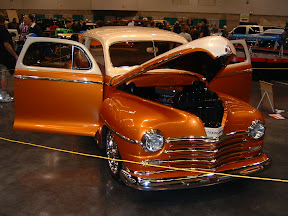
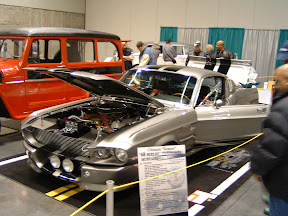
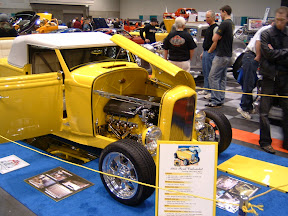
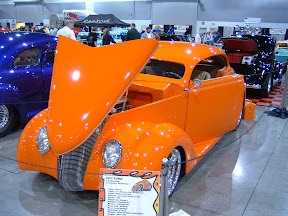
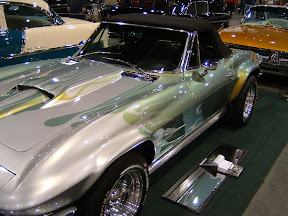
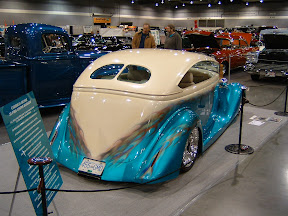
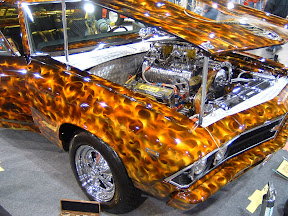
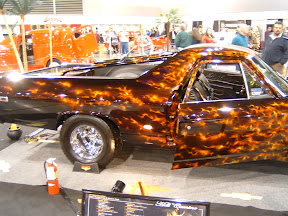
Today was a field trip; my friend Paul and I went to the Rod and Custom Show at the Expo Center. I was mostly looking at interesting color combonations. Some notable cars:

This one was a very Interesting color combonation. Just Unique.


This a brillant shade of orange


Another good combonation.


Other Photos:


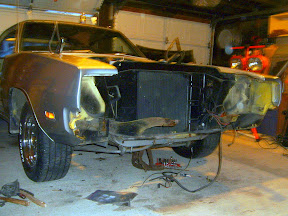
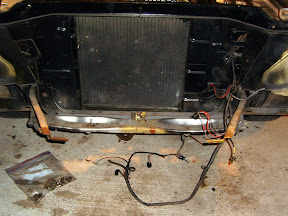
Day 14 - Front Valance and Grill Removal

Today I was able to remove the lower valance and grill. This took some work, it seemed after every time I thought I had it all disconnected there would be more hidden bolts.


Day 13 - Front Bumper Removal

Today, my good friend Mike came over and helped me remove the hood and bumper. We had to remove the 2 center bolts and then the supports that ran to the frame. Once the support bolts were removed we were able to slide the bumper forward enough to remove the other bolts.