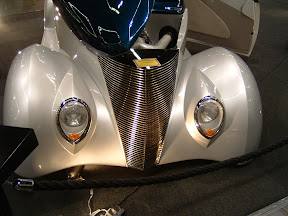

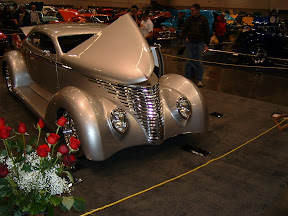
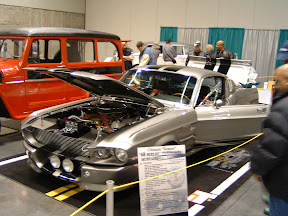

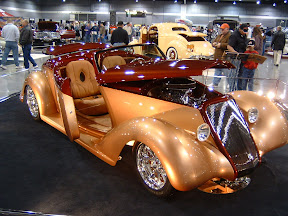
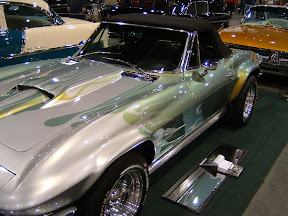
This one was a very Interesting color combonation. Just Unique.

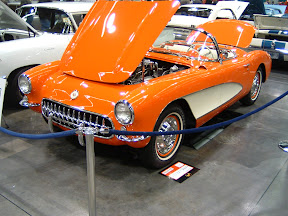
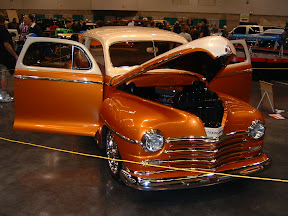
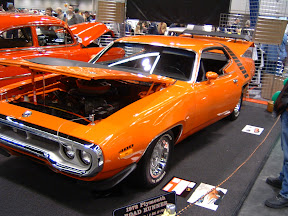
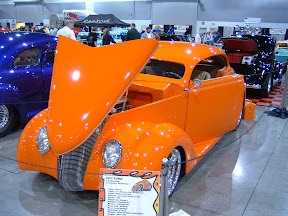
This a brillant shade of orange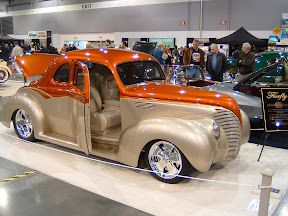
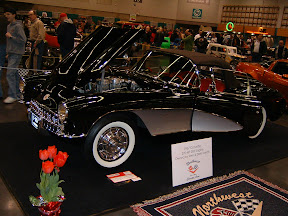
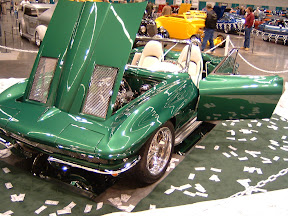
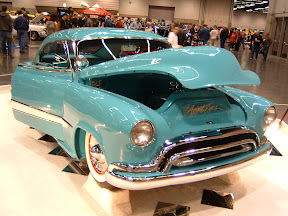
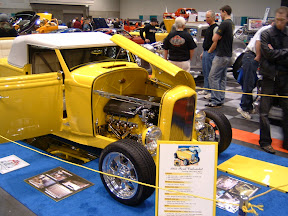
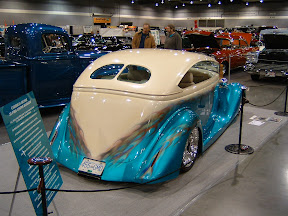
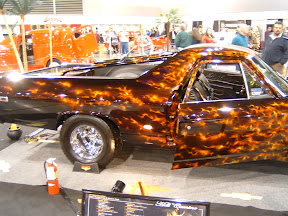
Another good combonation.
Other Photos: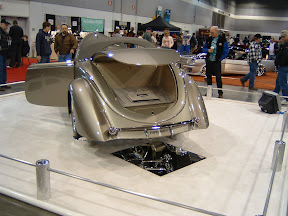
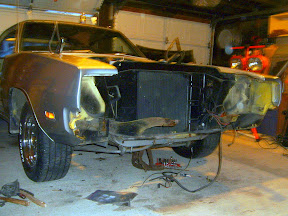
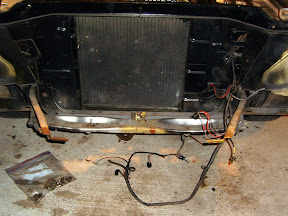
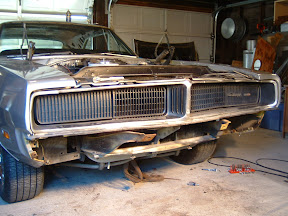
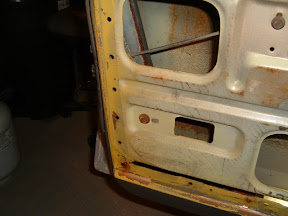
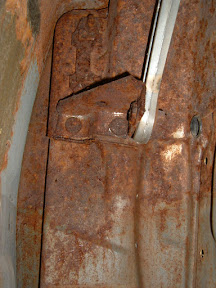
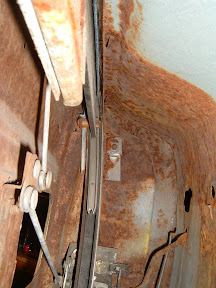
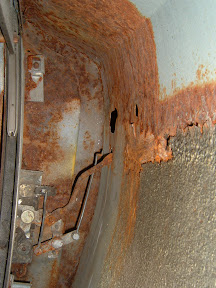
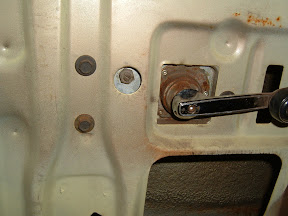
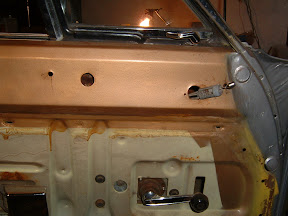
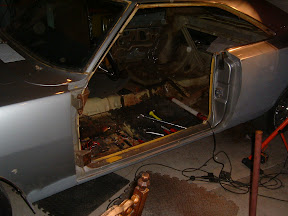
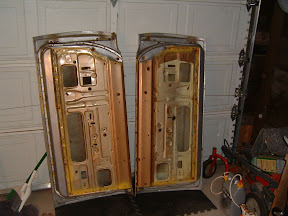
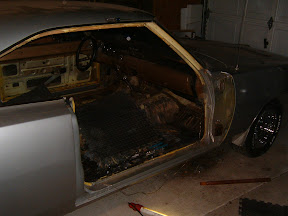
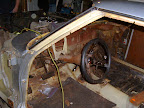
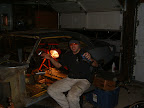
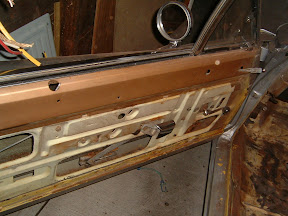
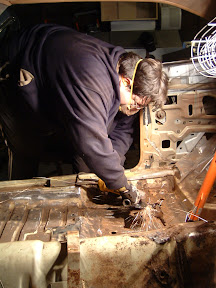
Today we wanted to tackle the driver side door and the floor. My friend Paul came over once again to give me hand. WHAT A SUCKER! Lol jk.
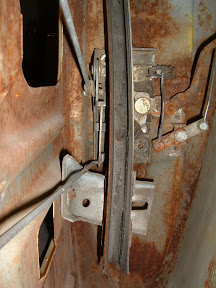
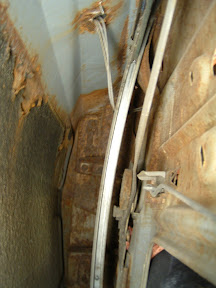
Paul went ahead and removed the door panel and hardware.
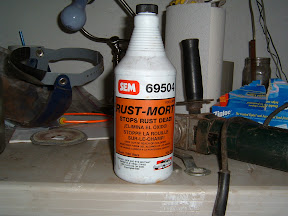
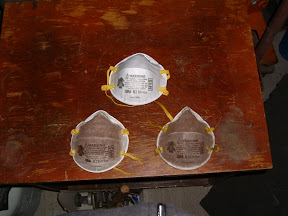
We went over to the home depot and picked up a few things:
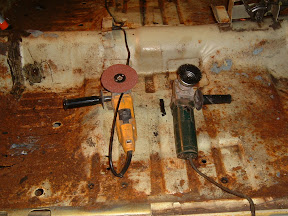
The top one is a new one, the lower left one is Paul’s and the lower right one is mine.
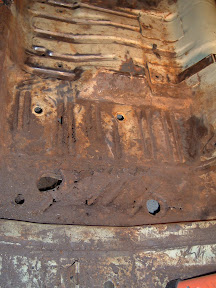
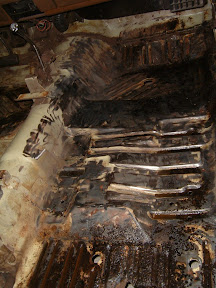
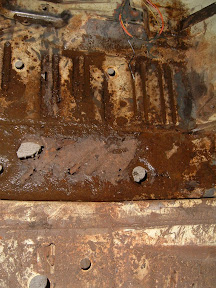
This took some serious grinding to clean up these floor pans.
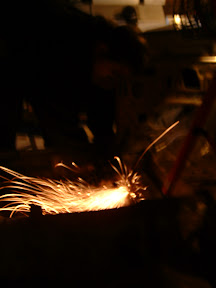
When using the sanding pad you will notice it sparking when you hit seams or rust, nothing to worry about, just keep going.
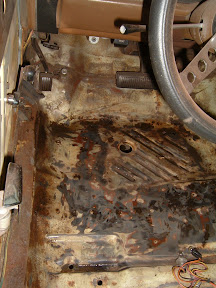
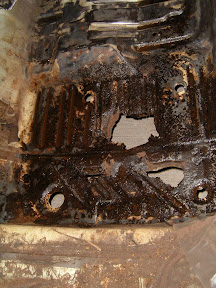
Here are the floor pans ...
Before: 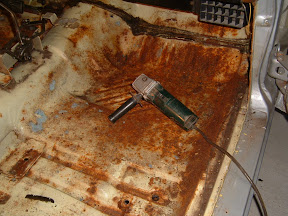
After: 
Before: 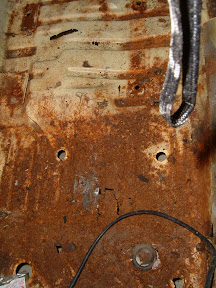
After: 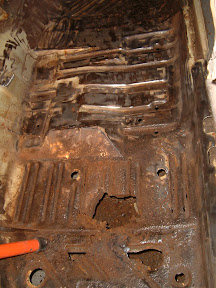
Before: 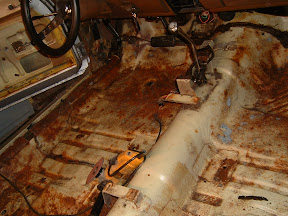
After: 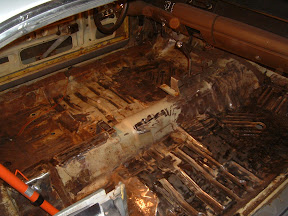
Before:
After: 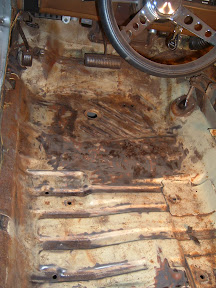
Before: 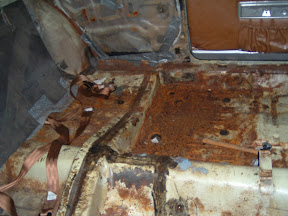
After: