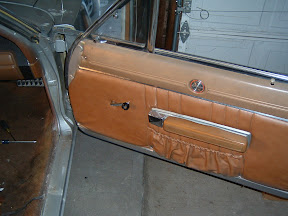
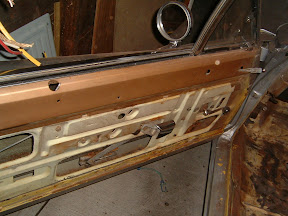
Today we wanted to tackle the driver side door and the floor. My friend Paul came over once again to give me hand. WHAT A SUCKER! Lol jk.
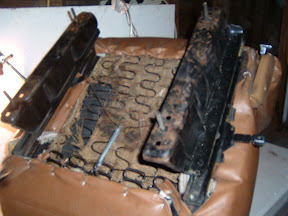
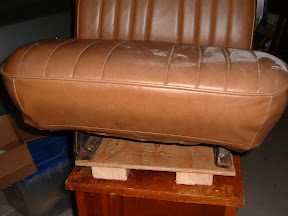
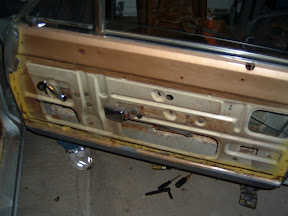
Paul went ahead and removed the door panel and hardware.
We went over to the home depot and picked up a few things:
- A wire brush attachment for one of the grinders. (This is for getting into the groves of the floor pans)
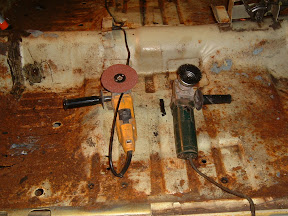
- A few wire brushes of various sizes (This for any detailed cleaning that needs to be done)
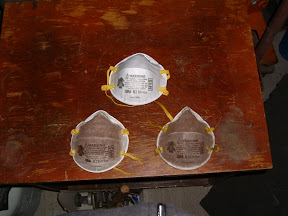
- A box of dust masks
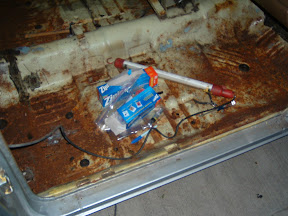
- For those of you who don’t believe in the use of dust masks, here are ours after just a few hours.
The top one is a new one, the lower left one is Paul’s and the lower right one is mine.
- Lacquer thinner (This is for cleaning surfaces just before painting.)
- Masking tape (Masking off any areas you don’t want paint on.)
- Welding gloves (The wire brushing attachment for the grinder is dangerous and hell
on the hands, so I got these to protect the hands and help with the vibration.)
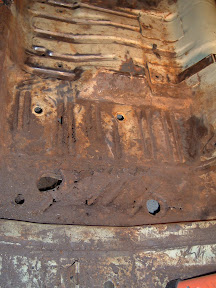
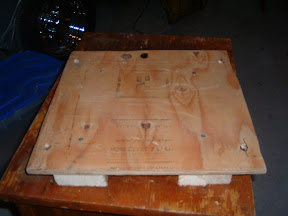
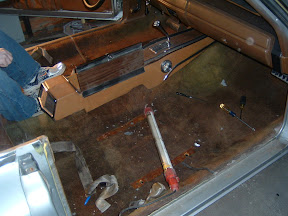
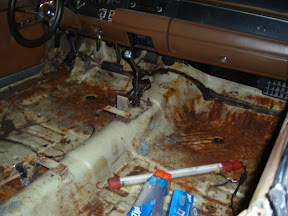
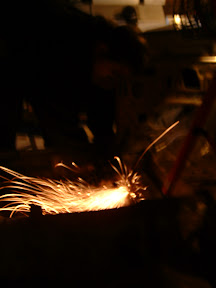
This took some serious grinding to clean up these floor pans.
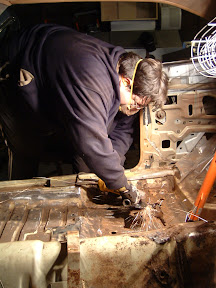
When using the sanding pad you will notice it sparking when you hit seams or rust, nothing to worry about, just keep going.
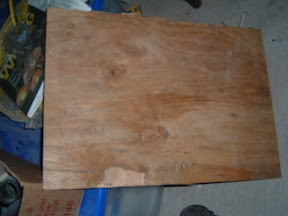
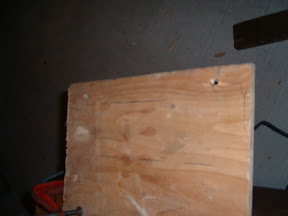
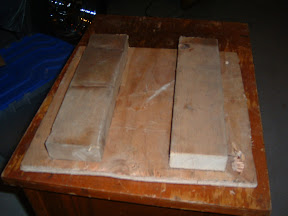
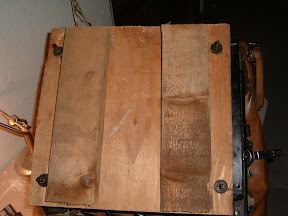
Here are the floor pans ...
Before: 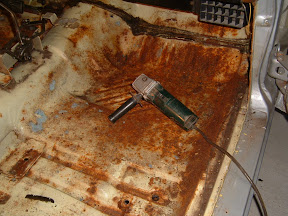
After: 
Before: 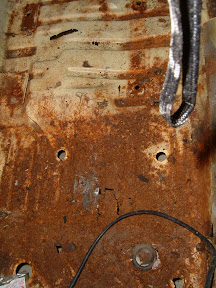
After: 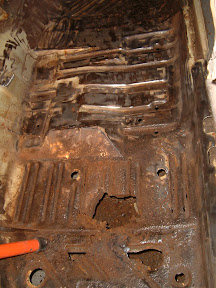
Before: 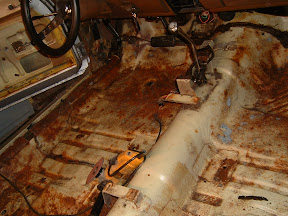
After: 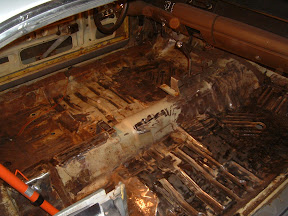
Before:
After: 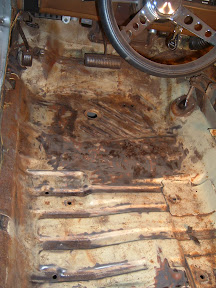
Before: 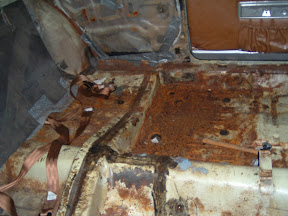
After: